Case Study: Tiling Backgrounds
Name: Robert Stadd, visual effects supervisor
Film: The Hangover Part III (2013)
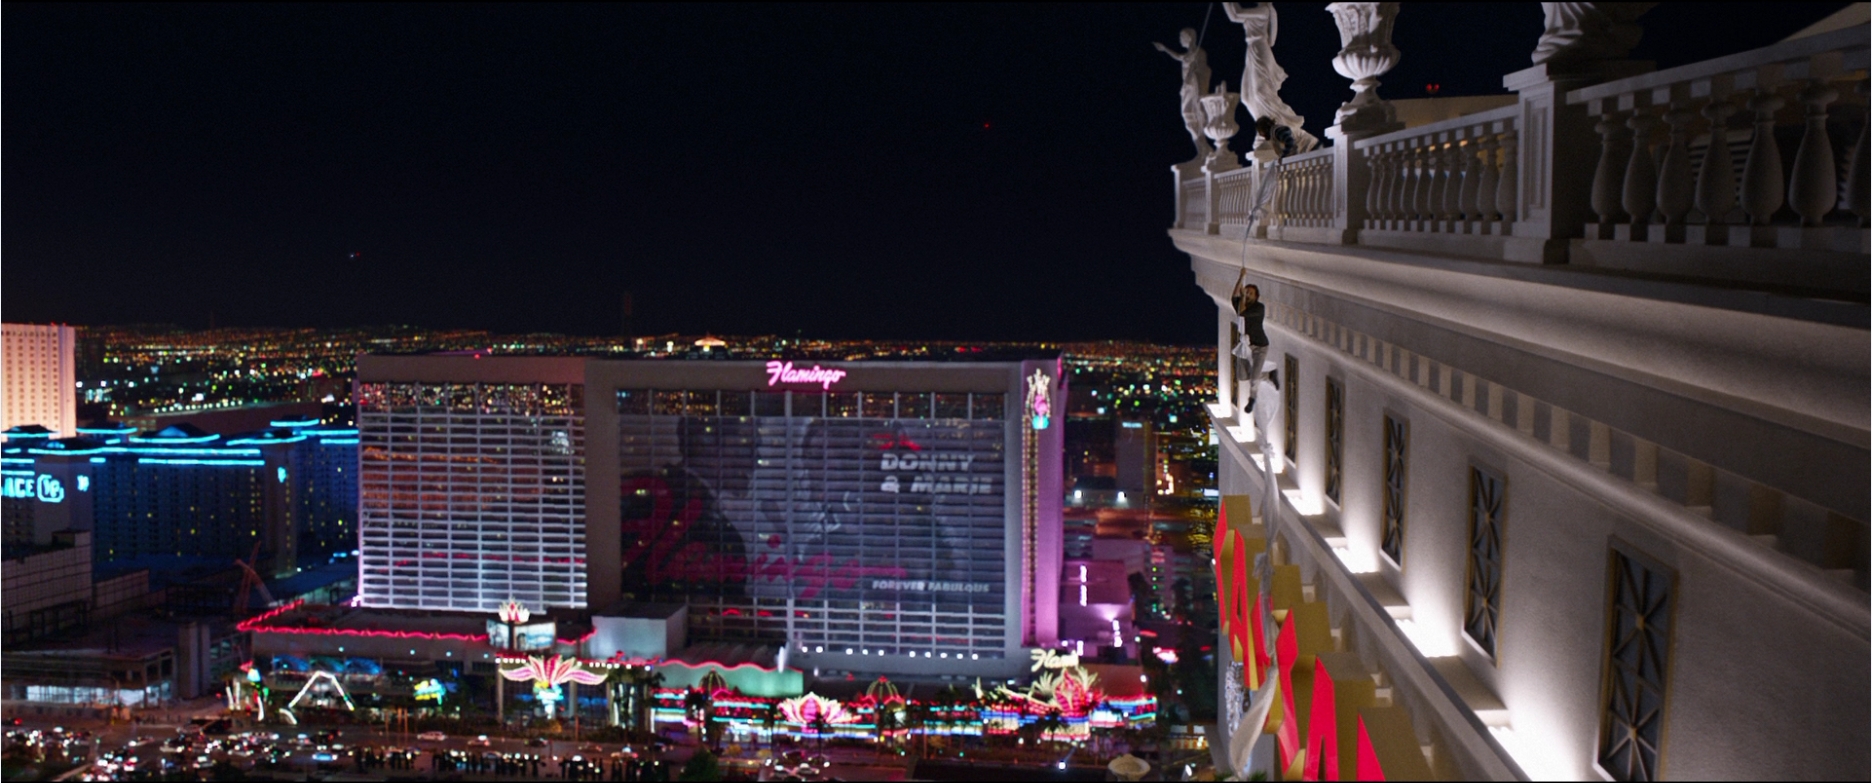
Situation: A key scene takes place on the roof of Caesars Palace in Las Vegas. Characters Phil (Bradley Cooper) and Alan (Zach Galifianakis) have to climb down three stories from the roof to a balcony below. It wasn’t feasible to shoot the sequence practically, since there is no actual ledge on that roof, and no balcony below, and simulating all that on set would have been dangerous and time-consuming. The general solution involved building a set on stage and surrounding it with green screens, so that the background of the Las Vegas cityscape as seen from the roof could be added later. But director Todd Phillips wanted the ability to point, pan, or tilt his camera in any direction, with accurate Las Vegas backgrounds matching the camera moves on the stage. Filmmakers could have chosen to film plates of Las Vegas and digitally match them to the scenes shot on the stage, but to match live-action camera moves, they would have had to lock off their camera to make the live-action plates work right—a camera perspective that also would not have matched the rest of the scene or the movie’s overall shooting style. Alternatively, they could have used motion-control cameras, but that would have been expensive and time-consuming. Instead, they chose to shoot still photos from the actual roof of Caesars Palace and “tile,” or stitch, 65 of them together so that the director’s camera moves would match an accurate Vegas background.
Photographic background tiles (using stills, video clips, or both) are created by shooting concentric overlapping images. Tiling (or stitching) is the process in which multiple photographed images are placed together in alignment to create a smooth background, free of distortions, that permits movement in the foreground element. Visual effects supervisor Robert Stadd says this is typically accomplished by the following:
- Photographing rows of pictures from bottom to top, covering as much as is required for the background.
- Using the manual setting if shooting digital stills, with a defined (non-auto) white balance. If shooting video, all auto settings must be off. Expose for the dark areas of the frame. If there are a lot of highlights that could blow out, it may be necessary to bracket, which means to shoot multiple exposures of the same frame, with each image to be combined in post.
- Overlap each image by no less than 20 percent and no more than 35 percent.
- Shoot from a tripod, preferably on a nodal head. “Remember that when shooting tiles, you need to go around the camera; the camera can’t go around you,” Robert Stadd explains. “This is the biggest mistake people make when they tile on the fly. Shooting on a nodal head is necessary for video, as well as when shooting stills, and is necessary for eliminating parallax [a displacement or difference in the apparent position of an object viewed along two different lines of sight]. Note, however, that when tiling distant objects, as we did in Hangover 3, this requirement is not as critical. A non-nodal head may be acceptable, but you need to test it first.”
- Shoot with a wide-angle lens—at least one lens size wider than what you anticipate photographing the foreground element with.
- Shoot at the lowest ISO possible. This has to be weighed and tested against depth of field and film speed. Too low an ISO might necessitate a wider lens opening or a lower shutter speed, either of which could create unwanted artifacts.
- Shoot vertically—there is less distortion when aligning vertical images.
- Shoot a horizontal test shot with someone in the foreground to check the real perspective of the background.
For filming foreground elements on the green-screen stage, Stadd notes that it is important to keep actors at least 15 feet from the screen; to use either laser lights or tape marks to create tracking dots for your tracking software to latch onto, making sure they are kept away from actors’ heads; and to light the screen evenly, at the same light value as the rest of the scene.
Stadd’s artists stitched the tiles together using a program called Stitcher, but several others, including Photoshop and Nuke, can also handle this kind of work. In the end product, as you can see in the final composite of the background shown above, there are no seams that give away that the image was built out of multiple photos.
Finally, filmmakers composited the foreground elements with their background tiles. Stadd says his team was careful to adjust the perspective of the background tiles to match that of the foreground element. Remember, if the background tiles were shot with a wide-angle lens and the foreground was shot with something tighter, the background tile will need to be adjusted. Make sure the focus of the background matches what the depth of field should be and that the size of the image is correct.
Takeaway: Thanks to the tiled background, filmmakers could move the camera as they wanted to—panning, tilting, and moving in with a dolly—and they could do so more efficiently in terms of time and resources. The basic lesson is this: with today’s tools, some experience, and creativity, there is almost always a viable technique for achieving something subtle but important to you as a filmmaker using visual effects methods, and that technique need not be the most expensive, laborious, or time-consuming method.