Using Microsoft PowerPoint
Printed Page 166
PowerPoint allows you to generate slides containing text, artwork, photos, charts, graphs, tables, clip art, video, and audio. You can upload PowerPoint presentations onto the Web for viewing elsewhere, and with additional software you can stream your PowerPoint presentation online in real time. This section offers a brief overview of PowerPoint’s primary features.
Presentation Options
Begin by familiarizing yourself with the toolbars and icons at the top and bottom of the main screen (see Figure 22.1). PowerPoint provides three options for composing a set of presentation slides.
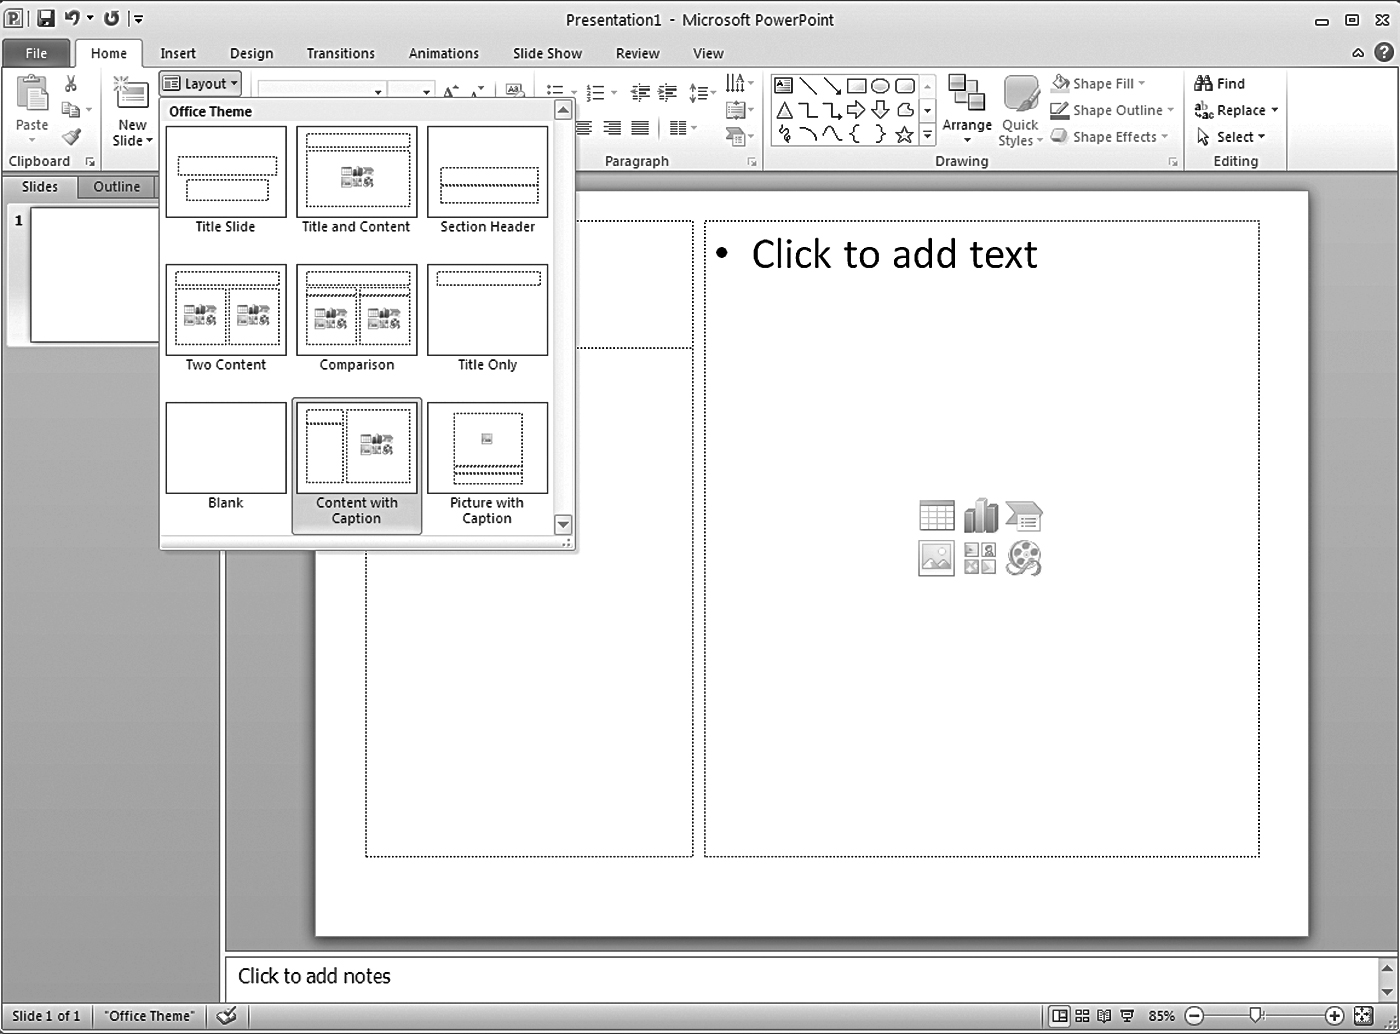
THE HOME TABThis tab presents menus for inserting new slides after the first one, choosing layouts and themes for your slides, and manipulating fonts and styles. Use Slide Layout to choose the format you want to display a title page and section pages, headings, body text, pictures, and captions (see Figure 22.2). This layout will apply to all slides. In the left pane, you can view slides as you create them.

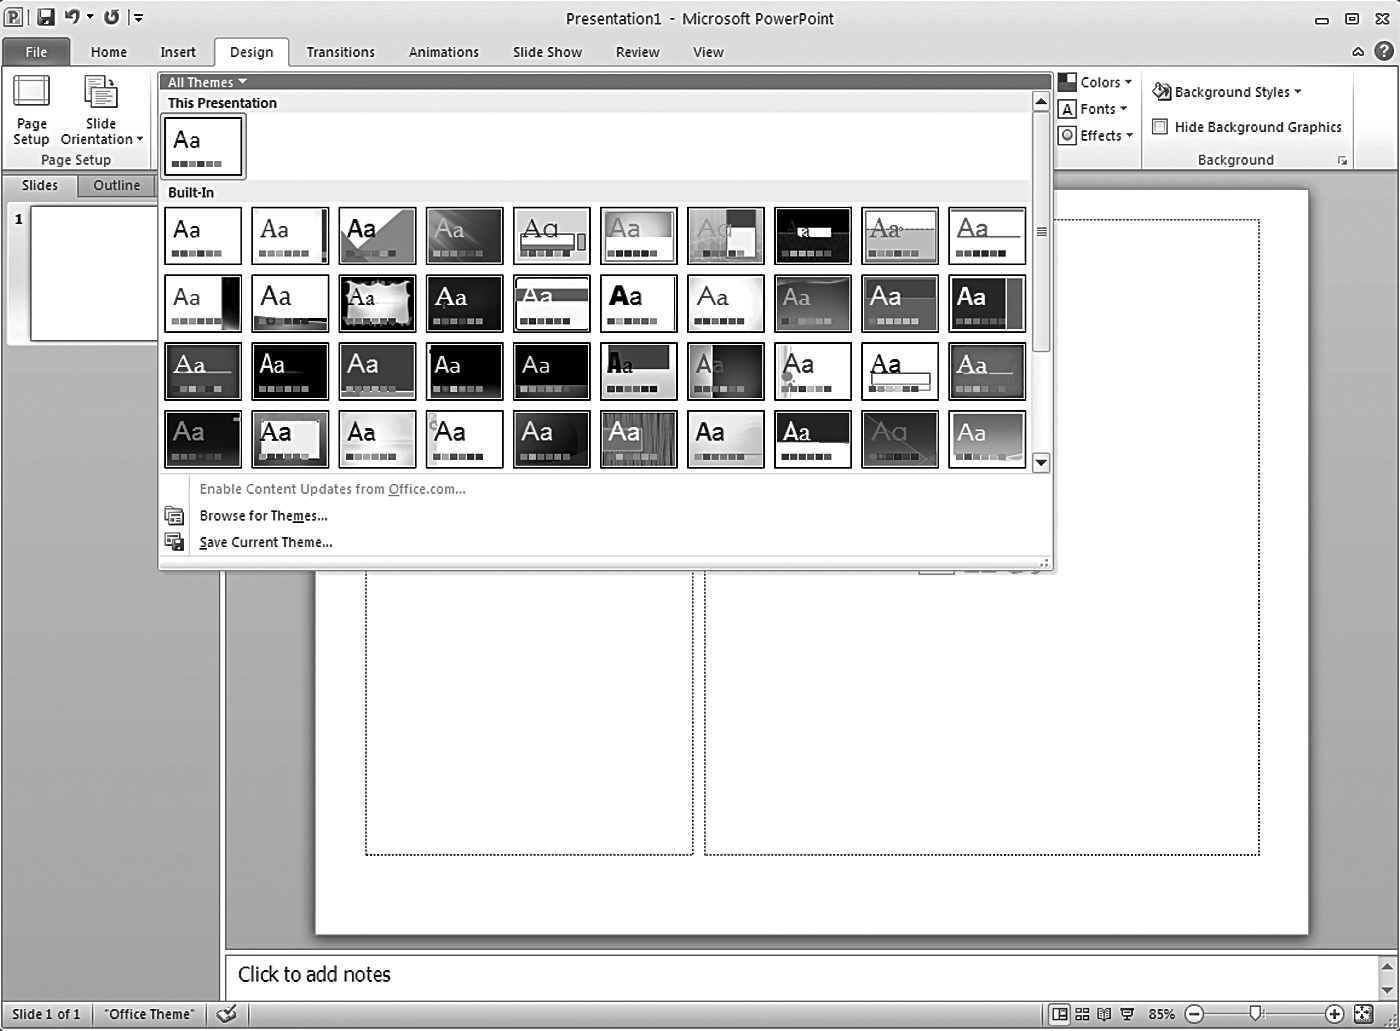
THE DESIGN TABThis tab includes approximately forty-eight predesigned templates, called Themes (see Figure 22.3) Templates allow you to apply a consistent layout and color scheme to each slide in the presentation. Each template is designed to convey a certain look or feel.
BLANK SLIDE LAYOUTWith Blank slide layout, you customize color, font, type and size, organization of content, and graphics (see Figure 22.4). This option allows the greatest degree of flexibility. Once you have designed a slide with the features you want, you can set it as a template so all slides share the same features.

View Options
Current versions of PowerPoint offer three different ways to view slides as you create them: normal view, slide-sorter view, and slide-show view.
- Normal view allows you to view and edit individual slides. The left pane shows the thumbnail and outline views of the slides as they are created. Below the slide is a space to add notes.
- Slide-sorter view provides a graphical representation of all the slides in the order they are created. Here you can delete slides or click and drag slides to reorganize the presentation sequence.
- Slide-show view is the actual view to use for projecting the presentation to an audience. Each slide fills the entire screen.
Masters
For each presentation you create using a design template, PowerPoint creates a Slide Master and a Handout Master. The Slide Master contains the elements that you want to appear on every slide, such as a logo, an image, or a line of text. The Handout Master is a page-size view depicting a number of slides per page. When printed, this view serves as a handout of the slides. To display a Master, go to the View tab and select Slide Master.
Transitions and Animation Effects
When moving from one slide to the next, or from one point to another within a single slide, you may wish to add special effects in the form of transitions and text animations. Transitions add motion and sound effects as you click from one slide to another. Animation effects—sometimes referred to as builds—allow you to reveal text or graphics within a slide during a presentation.
As a rule of thumb, your PowerPoint presentation will be just as effective without transitions and animation effects, but if you decide to include them, use them sparingly and keep them consistent throughout the entire show or within different sections.
Entering and Editing Text
Whenever you choose a slide layout other than a blank layout, you replace the sample text in a placeholder or textbox with your own text. PowerPoint text can be edited much like text in a word processor—you can apply bold, italics, and other text modifications. When you finish entering text, deselect the placeholder by clicking a blank area of the slide.
Inserting Objects
PowerPoint allows you to create or import photos, pictures, clip art, and other objects into the slides to supplement or illustrate speech points.
PICTURESPhotos can be inserted from your own picture files, from a disk or portable drive, or from photo Web sites.
CLIP ARTYou can select clip art from the PowerPoint Clip Art gallery and import clip art from other programs or Web sites such as Microsoft’s online Clip Art page (office.microsoft.com/images).
TABLES AND WORKSHEETSTo insert a table or a worksheet into your PowerPoint presentation, follow these steps:
- Click Insert > Table or Insert > Table > Excel Spreadsheet. A drop-down grid of cells appears.
- Click and drag the mouse pointer across the cells in the grid to indicate how many rows or columns you want in your table or worksheet. Upon releasing the mouse button, PowerPoint inserts a special object into your slide, replacing the PowerPoint toolbars for either Word or Excel toolbars. In effect, the special object allows you to use either Word or Excel inside a PowerPoint window.
- To create the content of the table or worksheet, use the mouse, the tab key, or the arrow keys to move from cell to cell and type in the text. When you are finished, insert the object into the slide by clicking outside the table or worksheet.
Inserting Videos and Sounds
The growing availability of amateur video on Web sites such as YouTube (www.youtube.com) and Google Video (video.google.com) and the increasing ease of transferring video to computers from portable digital devices such as iPods, pocket-size hard drives, and cell phones makes the embedding of video even simpler. To add video to a slide, follow these steps:
- In Normal view, click the slide to which you want to add a video clip.
- On the Insert menu, click the arrow under video.
- Do one of the following:
- Click Video from File, locate the folder that contains the file, and then double-click the file that you want to add. You will have to include this file in the same folder with your PowerPoint file if you display the presentation from a different computer.
- Click Video from Web site, paste the embed code from the Web site into the text box, then click Insert (an embed code is provided with each video on sites such as YouTube).
- Click Clip Art Video, use the Clip Art task pane to find an image, and then click it to add it to the slide.
You can also access PowerPoint Help (click the white question mark in the upper right corner of the PowerPoint screen) for instructions to add and play a video in a presentation. Inserting portions of a digital movie from a DVD to a PowerPoint slide requires third-party software. To insert a music track from an external source, select Audio from the Insert menu and then select the location to access the file.
Avoiding Copyright Infringement
Be certain to abide by copyright restrictions when using visual and audio materials from the Internet or other sources. Recognize when material is available under fair-use provisions (see Chapter 4, p. 29). Even if fair use applies, cite the source of the material in your presentation.
Consult your school’s information technology (IT) office for statements of policy pertaining to copyrighted and fair-use materials, especially from undocumented sources such as peer-to-peer (P2P) sharing. Improper acquisition or use of a copyrighted object could lead to loss of privileges on your campus computer network or, worse, to legal consequences.
CHECKLIST: Ensuring Legal Use of Media Acquired Electronically
![]() Cite the source of all copyrighted material in your presentation. For example, include a bibliographic footnote on the slide containing the material.
Cite the source of all copyrighted material in your presentation. For example, include a bibliographic footnote on the slide containing the material.
![]() Be wary of sites purporting to offer “royalty free” media objects; there might actually be other costs associated with the materials.
Be wary of sites purporting to offer “royalty free” media objects; there might actually be other costs associated with the materials.
![]() When time, resources, and ability allow, create and use your own pictures, video, or audio for your presentation slides.
When time, resources, and ability allow, create and use your own pictures, video, or audio for your presentation slides.