Camera Positioning
Printed Page 461
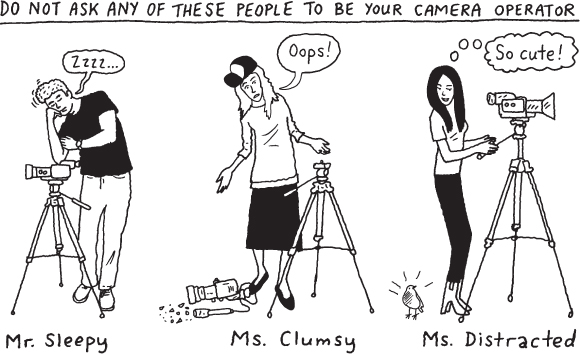
You or your carefully chosen camera operator should check that the camera is trained on the correct shot. Your instructor may have specific visual requirements, such as that the video show you only from the waist up as you deliver your speech. If you are required to speak to an audience, you may be asked to record the comments of listeners both before and after your speech.

When recording your speech, be sure the view is wide enough to capture your movements and gestures. If there is no specific shot required, avoid using a “talking head” shot, in which the audience can see only your head and the top of the trunk of your body. These tend to be perceived as boring by the audience, and they limit much of your nonverbal communication. Also, if someone is taping you with a cell phone or another handheld device, be sure to have him or her place the device on a flat surface to avoid camera shakiness.
Click the "Next" button to try Video Activity 15.3, “Fallacy: Red Herring (Needs Improvement).”
Also be sure the camera is positioned at the level of your eyes—this will make you appear to be having conversational eye contact with audience members rather than looking down on them.34 Changing the camera shot while recording presents challenges, but it can also help enliven your speech.35 If you have a skilled camera operator and are confident he or she can make these kinds of moves look seamless (or your professor suggests you incorporate different moves), consider having your operator get close-up shots when you emphasize key points, zoom in on visual aids, or shoot you from different angles. It is essential that these moves are coordinated between you and your camera operator so that they are done at the correct points in your speech. If the microphone is in the camera, it should remain about the same distance from you for the entire speech. If that distance becomes greater, you will sound farther away—a microphone can’t zoom in or out the way a lens can.36