How to Create Your Course
- Go to this URL: http://www.macmillanhighered.com/launchpad/gore1e
- In the black box, enter your institution email address and your password. If you cannot remember your password, there is a “Forgot Password?” link directly underneath the password box. The system will send you an email to reset it. (If you have not yet requested instructor access to the site, first enter your email address into the "Request Instructor Access" box and follow the prompts.)
- Once you’ve logged in, you’ll see a dashed box with “+ Create Course” inside. Click in the box, and walk through the next few screens that pop up. When you come to the window that asks for course information, we suggest that you make the “Course Name” box as specific as possible. Put your name and section number in there, just so that it’s extra clear to your students.
- After your course is created, you can now access it by clicking on the course title.
- Click through the “Enter Your Course” page.
- Once in your course, you'll see the following: (1) The Academic and Career Excellence System, (2) End-of-Term Self-Assessment of Change, (3) Instructor's Guide to Using ACES, (4) Student's Guide to Using ACES, and (5) The Academic and Career Excellence System Post-Test. You can read through the guides, but the Assessment itself will be most important when creating this assignment.
- Think about when you want the assignment to be due. Then, mouse over the assessment, and notice the “Assign” arrow that pops up.

- Click ‘Assign’ and the section calendar will appear.
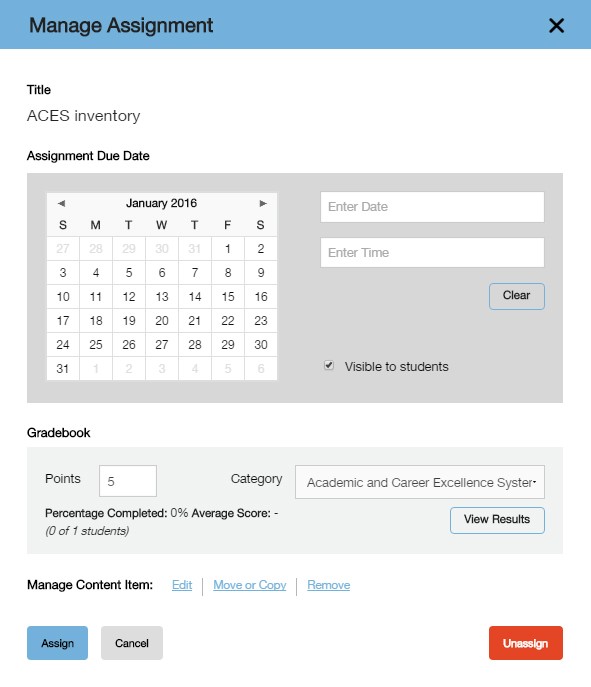
- Click a due date on the calendar or type it in manually.
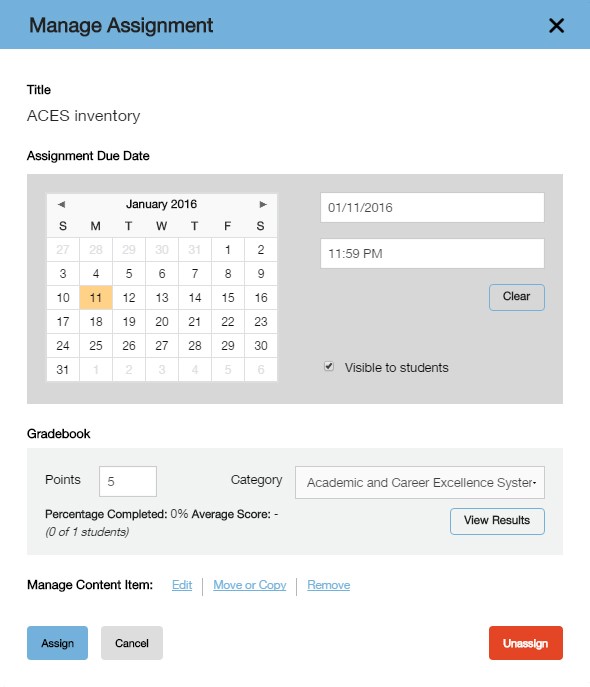
- Click the blue ‘Assign’ button to confirm your changes. ACES Inventory will be displayed on the home page with due date.
- The last step is to activate your course. Click the big yellow banner at the top of the screen, and walk through the steps. Take note of the window that says “Your Course is Now Activated.” The URL that is listed at the top of the page is CRUCIAL. The last few numbers of that URL are your unique Course ID Number. Each instructor’s number will be different, and giving this number and that URL to your students is the easiest way for them to access and register for LaunchPad and ACES.
- Give this link to your students (in class, on the syllabus, via email, whatever you choose). The student will go to this web address, and enter their access code. Once the student enters the code and supplies his/her email address and a password, that student will then be able to take the assessment.